
I know the satisfying feeling of a freezer packed with the bounty of the season, but I also know its limits. When the garden truly explodes or you find an unbeatable deal on bushels of fruit, you need more tools in your arsenal. For truly preserving seasonal produce, we must look beyond the cold and embrace time-honored food preservation techniques that offer different textures, flavors, and the wonderful convenience of shelf-stable food.
If you’re ready to level up your kitchen skills and ensure not a single piece of your precious harvest goes to waste, you’re in the right place. I’m going to guide you through three fundamental methods: the science of canning, the simplicity of dehydrating, and the zesty magic of pickling. This isn’t just about saving food; it’s about capturing the taste of sunshine in a jar to be enjoyed year-round.
Think of this as your gateway to a more resourceful and sustainable kitchen. We’ll cover the core principles and safety measures for each method, giving you the confidence to stock your pantry with delicious, homemade goods that are ready whenever you need them, no defrosting required.
Method 1: Food Preservation Canning – Locking Freshness in a Jar
Canning is the process of using heat to sterilize food and seal it in airtight jars, creating a shelf-stable product. It’s the gold standard for things like jams, sauces, and whole fruits or vegetables. There are two methods, and it’s critical to know which one to use.
A Critical Note on Food Preservation Safety:
- Water Bath Canning: This method is ONLY safe for high-acid foods. This includes most fruits, jams, jellies, and properly acidified vegetables like pickles. The high acidity prevents the growth of Clostridium botulinum, the bacteria that causes botulism.
- Pressure Canning: This method is REQUIRED for all low-acid foods, such as plain vegetables, meats, and soups. It reaches a much higher temperature, which is necessary to kill botulism spores in a low-acid environment.
In this guide, we’ll focus on the more beginner-friendly water bath canning. I always recommend consulting a trusted source like the National Center for Home Food Preservation before you begin.
Simple Water Bath Canning Tutorial (Tomato Sauce):
- Prepare Jars & Sauce: Wash canning jars, lids, and rings in hot, soapy water. Keep the jars hot (in a pot of simmering water) until you’re ready to fill them. Prepare your favorite tomato sauce recipe.
- Fill Jars: Ladle the hot sauce into the hot jars, leaving about a 1/2-inch of headspace (the space between the food and the rim). Remove air bubbles by sliding a non-metallic spatula around the inside of the jar.
- Seal Jars: Wipe the jar rims clean with a damp cloth. Place the lid on top and screw on the ring until it’s “fingertip tight”—secure, but not forced.
- Process: Carefully lower the jars into your canner, which should be filled with simmering water. Ensure the water covers the jars by at least 1-2 inches. Put the lid on the canner, bring it to a rolling boil, and start your timer based on your recipe’s instructions (processing time varies by recipe and altitude).
- Cool & Check: Once the time is up, turn off the heat and let the jars sit in the canner for 5 minutes before removing them to a towel-lined counter. Let them cool, undisturbed, for 12-24 hours. You’ll hear a satisfying “ping” as the lids seal. To check the seal, press down on the center of the lid; if it doesn’t flex, it’s sealed.
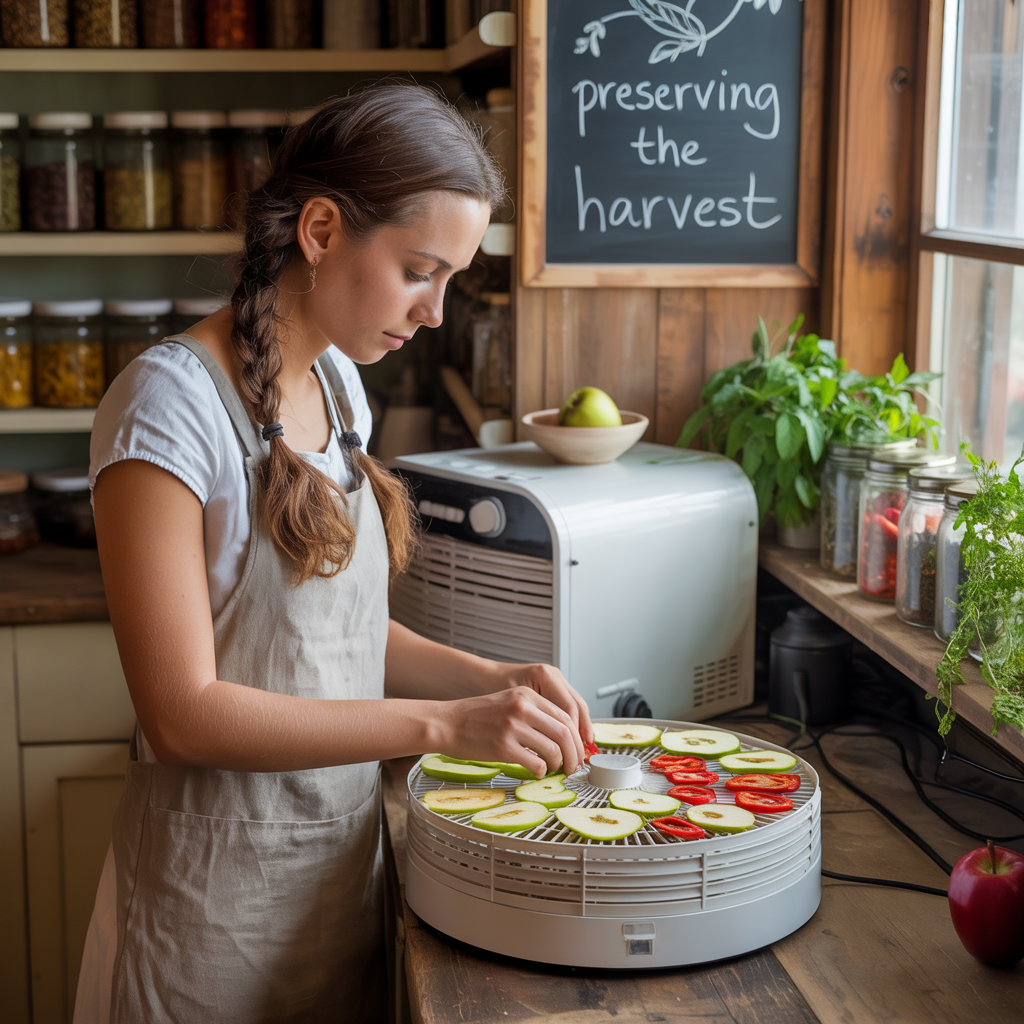
Method 2: Dehydrating – Concentrating Flavor with Air
Dehydrating is the simple art of removing moisture from food to inhibit the growth of bacteria, yeast, and mold. It results in light, nutrient-dense snacks and ingredients. You can use a dedicated food dehydrator or your oven on its lowest setting.
How to Dehydrate Fruit (Apple Chips):
- Prep the Fruit: Wash and core your apples. Slice them into thin, uniform rounds, about 1/8-inch thick. For a brighter color, you can briefly dip the slices in a solution of lemon juice and water.
- Arrange: Place the apple slices in a single layer on your dehydrator trays or on baking sheets lined with parchment paper. Ensure they aren’t overlapping.
- Dry: If using a dehydrator, set it to around 135°F (57°C) and let it run for 6-12 hours. If using an oven, set it to the lowest possible temperature (ideally below 200°F / 93°C), and prop the door open slightly to allow moisture to escape. The oven method is faster but requires more monitoring.
- Check for Doneness: The apple chips are ready when they feel leathery or crisp, depending on your preference. Let them cool completely before storing.
- Store: Keep your dehydrated fruit in airtight containers in a cool, dark place. They will last for months. This is a fantastic way to create snacks without the preservatives found in store-bought versions.
Method 3: Quick Pickling – Tangy Flavor in a Flash
While fermented pickling is a science in itself (similar to my DIY Fermentation guide), a quick pickling recipe (or refrigerator pickle) is an incredibly easy way to preserve the crunchy texture of fresh vegetables.
Quick Pickling Recipe (For Carrots, Onions, or Cucumbers):
- Prepare Jars & Veggies: Pack a clean glass jar tightly with your sliced vegetables.
- Make the Brine: In a small saucepan, combine 1 cup of vinegar (white, apple cider, or rice vinegar all work wonderfully), 1 cup of water, and 1 tablespoon of salt. You can explore different vinegars, a true Unsung Hero of the pantry, for varied flavors.
- Add Flavor (Optional): Add your choice of flavorings to the saucepan—a few cloves of garlic, a teaspoon of peppercorns, some fresh dill, or a pinch of red pepper flakes.
- Heat and Pour: Bring the brine to a boil, stirring to dissolve the salt. Carefully pour the hot brine over the vegetables in the jar until they are completely covered.
- Cool and Store: Let the jar cool to room temperature, then seal it and place it in the refrigerator. Your quick pickles will be ready to eat in as little as 24 hours and will keep in the fridge for several weeks.
Your Pantry: A Library of Seasons
By mastering these three food preservation techniques, you have fundamentally changed your relationship with food and seasons. Your pantry is no longer just a storage space; it’s a living library of your hard work and the year’s bounty. Each jar of sauce, bag of dried fruit, and container of pickles is a story of a season, captured and ready to be enjoyed on a cold winter day. You’ve embraced the core of a Smart Kitchen: resourcefulness, sustainability, and delicious, hands-on creativity.
C. Holmes is the keen analytical mind behind Infinitas Minds, a blog dedicated to revolutionizing the way we approach home economics. With a meticulous eye for detail and a passion for logical solutions, C. Holmes tackles everyday challenges to reveal hidden opportunities for efficiency and savings. His mission is to simplify life, spark innovation, and offer practical, insightful approaches for navigating our often-complex world with greater ease and financial clarity.
Driven by a belief that true mastery of home economics lies in understanding the ‘why’ and ‘how’ behind every decision, C. Holmes curates comprehensive guides, actionable experiments, and groundbreaking perspectives. Expect a blend of sharp analysis, creative problem-solving, and a touch of ingenuity in every piece, empowering readers to transform their homes into havens of efficiency and peace.