
My complete guide to home fermentation is the first step on a rewarding journey into a world of vibrant, living foods. If you’re curious about the gut-health benefits of probiotics or simply love the tangy kick of kombucha and the spicy crunch of kimchi, you’ve come to the right place.
I know that the idea of cultivating live bacteria in your kitchen can seem intimidating at first, but I’m here to show you that it’s not only simple but also an incredibly safe and fascinating scientific process you can master.
This guide is designed to demystify the process completely. We will walk through the fundamental science of fermentation in a way that’s easy to understand, cover the essential safety rules to ensure every batch is a healthy one, and then dive into step-by-step tutorials for making your very first batches of kombucha and kimchi. Think of me as your personal lab partner on this delicious experiment.
By the end of this article, you’ll have the confidence and knowledge to turn your kitchen into a small-scale fermentation powerhouse. You’ll not only save money on expensive store-bought products but also gain a deeper connection to your food and a new set of skills that will serve you for a lifetime. Let’s begin.
The Science in Your Jar: What Is Home Fermentation, Really?
Before we handle any ingredients, it’s crucial to understand the magic happening inside the jar. At its core, fermentation is a metabolic process where microorganisms, like bacteria and yeast, convert carbohydrates—such as sugar and starch—into alcohol or acids. These microorganisms are the good guys; they act as natural preservatives, preventing the growth of spoilage-causing microbes.
The process also creates a host of beneficial compounds, most notably probiotics, which are live bacteria that support a healthy gut microbiome. Furthermore, fermentation enhances the nutritional profile of food, making vitamins and minerals more bioavailable for your body to absorb.
It’s a perfect example of how a little scientific know-how, a topic I explore often in my Home Lab category, can transform simple ingredients.
The Golden Rules of Fermentation Safety
I cannot stress this enough: successful home fermentation is built on a foundation of safety and cleanliness. Following these rules will protect your health and ensure your ferments are delicious and beneficial, not harmful.
- Cleanliness is Everything: Before you start, thoroughly wash and sanitize all your equipment—jars, lids, cutting boards, knives, and your hands. A simple wash with hot, soapy water followed by a rinse with a diluted vinegar solution (a true Unsung Hero in the kitchen) is highly effective.
- The Power of Salt: In vegetable ferments like kimchi, salt is not just for flavor. It draws water out of the vegetables, creating a brine that inhibits the growth of harmful bacteria while allowing beneficial Lactobacillus bacteria to thrive. Always use non-iodized salt like sea salt or kosher salt.
- Keep it Submerged: Any vegetable being fermented must stay below the surface of the brine. This creates an anaerobic (oxygen-free) environment where only the good bacteria can survive. Anything exposed to air is at risk of developing mold. Use fermentation weights or a small, clean plate to keep everything submerged.
- Trust Your Senses (Mostly): A healthy ferment will smell pleasantly sour and tangy. If you see fuzzy black, green, or orange mold, or if it smells putrid or rotten, your batch is compromised. When in doubt, throw it out. Your safety is paramount.
Your First Brew: A Step-by-Step Guide to DIY Kombucha
Kombucha is a fermented tea that starts with a key component: the SCOBY (Symbiotic Culture of Bacteria and Yeast). You can get a SCOBY from a friend, buy one online, or even grow your own from a bottle of unpasteurized, store-bought kombucha.
You Will Need:
- A 1-gallon glass jar
- A healthy SCOBY
- 1 cup of starter tea (strong, mature kombucha)
- 8 bags of black or green tea
- 1 cup of granulated white sugar
- 14 cups of filtered water
- A tightly woven cloth cover (like cheesecloth) and a rubber band
Step-by-Step Instructions:
- Brew the Sweet Tea: Bring the filtered water to a boil. Remove from heat, add the sugar, and stir until it dissolves completely. Add the tea bags and let them steep for 10-15 minutes.
- Cool it Down: This is a critical step. Remove the tea bags and let the sweet tea cool completely to room temperature. Hot tea will kill your SCOBY.
- Combine and Cover: Pour the cooled sweet tea into your 1-gallon glass jar. Gently add the SCOBY and the 1 cup of starter tea. The SCOBY may float or sink; both are normal.
- Ferment: Cover the jar with the cloth and secure it with a rubber band. This keeps pests out while allowing the brew to breathe. Place the jar in a warm, dark place (like a pantry) and leave it undisturbed for 7-14 days.
- Taste and Bottle: After 7 days, start tasting your kombucha. The longer it ferments, the less sweet and more vinegary it will become. Once it reaches a flavor you enjoy, your kombucha is ready for a second fermentation (to add carbonation and flavor) or to be refrigerated and enjoyed.
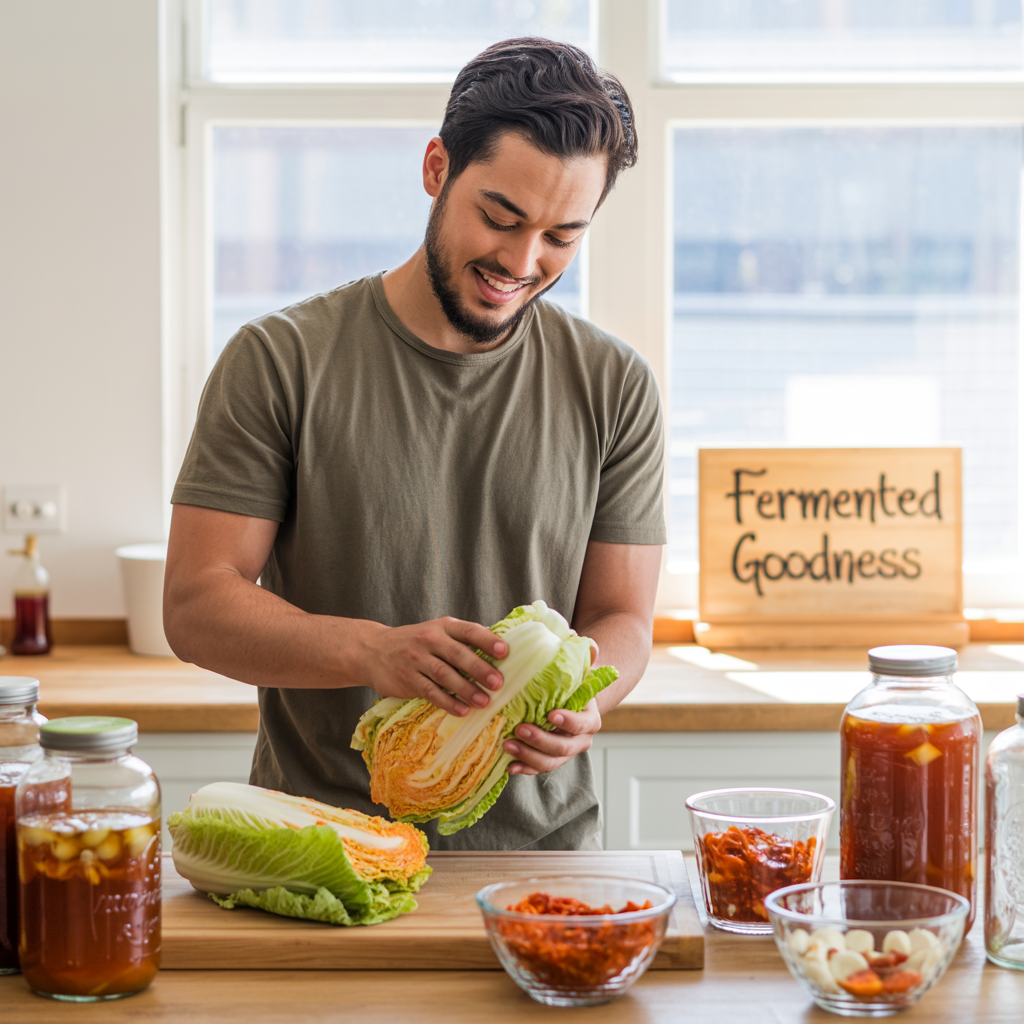
Crafting Kimchi: An Easy Kimchi Recipe for Beginners
Kimchi is a traditional Korean side dish made from fermented vegetables, most commonly Napa cabbage and Korean radishes, with a variety of seasonings. This recipe is a simplified version that’s perfect for your first time.
You Will Need:
- 1 large head of Napa cabbage (about 2 lbs)
- 1/4 cup of non-iodized sea salt
- 6-8 cloves of garlic, minced
- 1 teaspoon of fresh ginger, grated
- 1 teaspoon of granulated sugar
- 2-3 tablespoons of Korean red pepper flakes (gochugaru)
- 4 scallions, chopped
- 1 carrot, julienned
Step-by-Step Instructions:
- Salt the Cabbage: Cut the cabbage lengthwise into quarters, then chop it into 1-2 inch wide strips. In a large bowl, toss the cabbage with the salt until it’s evenly coated. Let it sit for 1-2 hours, tossing it every 30 minutes. The cabbage will wilt and release a significant amount of water.
- Rinse and Drain: Thoroughly rinse the salt from the cabbage under cold water (rinse it 3 times). Drain it well in a colander for 15-20 minutes to remove excess water.
- Make the Paste: In a separate bowl, combine the minced garlic, grated ginger, sugar, and gochugaru. Mix them into a thick paste. This is your flavor base, and you can find more about the power of these simple ingredients in my guide to The Humble Onion and its relatives.
- Combine Everything: Gently squeeze any remaining water from the cabbage. In the large bowl, combine the cabbage, scallions, and carrots. Add the seasoning paste and, using your hands (I recommend wearing gloves!), massage the paste into the vegetables until everything is evenly coated.
- Pack the Jar: Pack the kimchi mixture tightly into a large jar. Press down firmly to remove air bubbles and encourage the brine to rise. Leave at least 1-2 inches of headspace at the top.
- Ferment: Seal the jar and let it sit at room temperature for 1-5 days. “Burp” the jar daily (open the lid briefly) to release the gases produced during fermentation. Taste it every day. Once it’s as tangy as you like, move it to the refrigerator to slow the fermentation process. It will keep for months!
Beyond the Basics: Caring for Your Home Fermentation
Your SCOBY is a living thing and will grow with each batch, producing “babies” you can share or use to make more kombucha. Store extra SCOBYs in a jar with some starter tea in the fridge. For kimchi, the flavor will continue to develop and deepen in the refrigerator. Use it as a side dish, in fried rice, or to make savory pancakes. Proper storage is key, just like mastering The Art of the Organized Fridge is essential for minimizing food waste elsewhere in your kitchen.
Frequently Asked Questions (FAQ) about Home Fermentation
- Is my SCOBY supposed to be ugly?
- Yes! A healthy SCOBY is often lumpy, discolored, and a bit strange-looking. As long as it’s not fuzzy or black with mold, it’s likely fine.
- Why is my kombucha not fizzy?
- The first fermentation produces very little carbonation. The fizz is created during a second fermentation, where you bottle the finished kombucha with a bit of sugar (like fruit juice) in an airtight bottle for a few days.
- Can I use a different kind of salt for my kimchi?
- You must use a salt without iodine or anti-caking agents, as these can inhibit the beneficial bacteria. Sea salt, kosher salt, or pickling salt are the best choices.
- How do I know when my kimchi is ready?
- It’s purely a matter of taste! Start tasting it after 24 hours at room temperature. If you prefer a sourer, tangier kimchi, let it ferment for a few more days before refrigerating it.
Your Kitchen, Your Living Laboratory
You’ve now taken the first, most important steps into the world of home fermentation. By understanding the science and respecting the process, you’ve transformed your kitchen from a place of simple cooking into a living laboratory. You’ve cultivated beneficial microbes and created foods that are not only delicious and economical but also deeply nourishing. This is the very essence of a Smart Kitchen—a space where creativity, science, and practicality come together. I encourage you to keep experimenting, trust your senses, and enjoy the vibrant, complex flavors you’ve created with your own two hands.
C. Holmes is the keen analytical mind behind Infinitas Minds, a blog dedicated to revolutionizing the way we approach home economics. With a meticulous eye for detail and a passion for logical solutions, C. Holmes tackles everyday challenges to reveal hidden opportunities for efficiency and savings. His mission is to simplify life, spark innovation, and offer practical, insightful approaches for navigating our often-complex world with greater ease and financial clarity.
Driven by a belief that true mastery of home economics lies in understanding the ‘why’ and ‘how’ behind every decision, C. Holmes curates comprehensive guides, actionable experiments, and groundbreaking perspectives. Expect a blend of sharp analysis, creative problem-solving, and a touch of ingenuity in every piece, empowering readers to transform their homes into havens of efficiency and peace.